
Bar counter dimensions decide whether guests stay for a second drink or shift on the stool and leave. Three numbers do almost all of that work: how far the top projects, how deep the guest surface runs, and how much room a pair of knees has underneath. Get those three right and everything else is detailing.
This guide sets out working bar counter dimensions for the drawing stage, before any joinery is ordered. It covers overhang, depth, knee space, foot rails, tiers, accessible sections, materials and the working side behind the counter.
It is written from the production side. For the wider sourcing picture across seating, tables and fixed joinery, see our guide to restaurant furniture manufacturers.
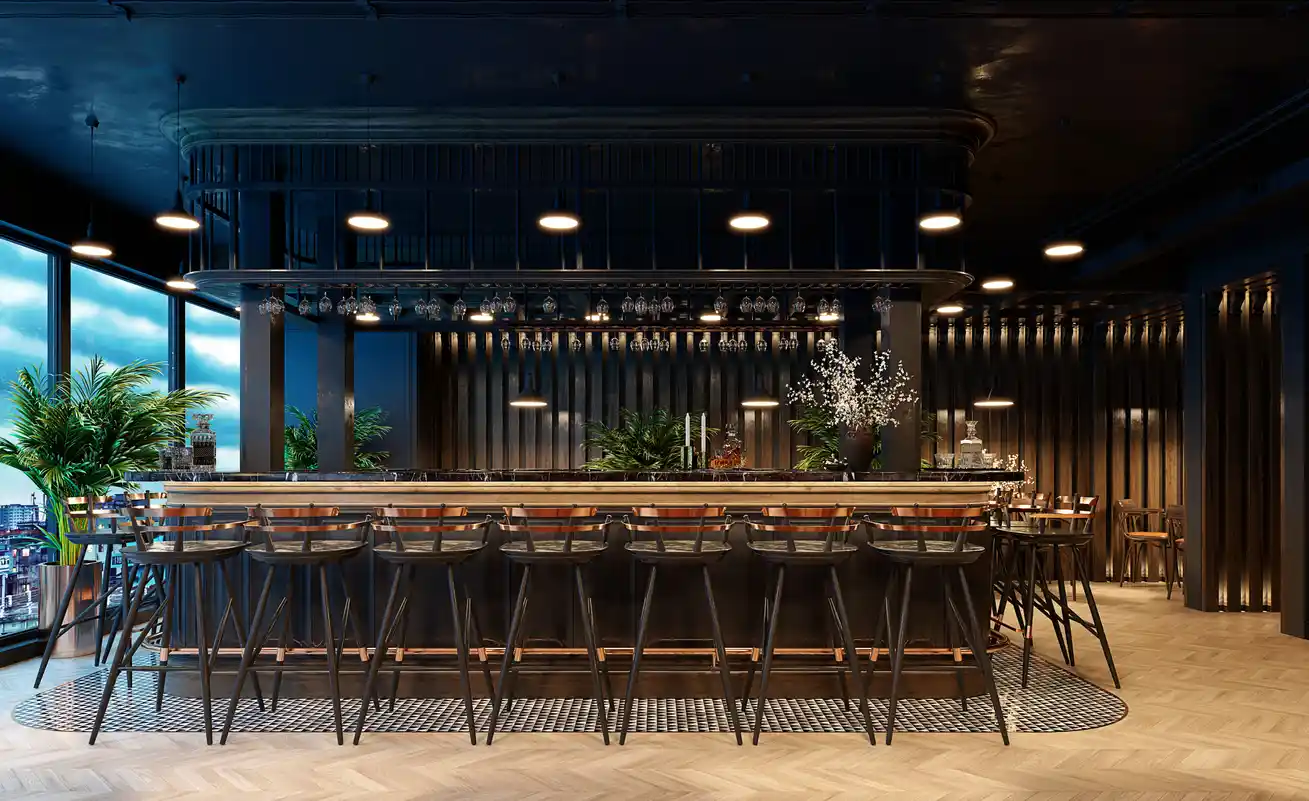
Standard bar counter dimensions are 105 to 115 cm high for a bar and 90 to 95 cm for a counter, with a top overhang of 30 cm and a guest surface at least 35 cm deep. Leave a clear 68 cm from the floor to the underside of the top, and never let an apron, a bracket or a drink rail eat into that space. Add a foot rail 20 cm above the floor, projecting about 13 cm from the front face.
Contents
- The Bar Counter Dimensions That Decide Comfort
- Overhang: How Far the Top Projects
- Depth: Guest Side, Bar Die and Service Side
- Knee Space, the Dimension Nobody Draws
- The Foot Rail and What It Changes
- Single-Tier and Two-Tier Counters
- Accessible Sections and Clear Floor
- Materials, Edges and What Survives a Bar
- The Working Side Behind the Counter
- The Drawing to Give Your Joiner
- Bar Counter Dimensions That Fail on Opening Night
- FAQ
The Bar Counter Dimensions That Decide Comfort
A bar counter is not one surface. It is a guest surface, a structure below it and a working surface behind it, and each of the three has its own height.
So bar counter dimensions come in sets rather than singly. Change the height family and the overhang, the foot rail and the stool all move with it.
The Four Dimensions That Matter
Four figures carry almost all of the comfort: height, overhang, depth and knee clearance. Everything else, including the front panel detail and the edge profile, is finish rather than function.
Get one of the four wrong and no amount of good joinery rescues it. A beautiful counter with a 20 cm overhang still forces guests to sit sideways all evening.
Bar Height and Counter Height Families
Two height families cover almost every venue. Bar height runs 105 to 115 cm and pairs with a stool seat around 75 to 80 cm, while counter height runs 90 to 95 cm and pairs with a seat around 65 cm.
Pick the family before anything else, because it changes the stool, the foot rail and the knee dimension together. Our guide to dining table and chair height covers the equivalent logic for seated tables.
Mixing families along one run rarely works. Guests read the step as a mistake, and the foot rail has to break at the change.
Where to Measure the Height From
Always measure to the finished floor, not the slab. A 20 mm tile bed and a 15 mm timber overlay together move a counter into the wrong height family.
Then measure to the top of the finished surface rather than the substrate. A 30 mm stone slab on an 18 mm carcass adds nearly 50 mm that drawings routinely forget.
| Dimension | Bar height | Counter height | Absolute minimum |
|---|---|---|---|
| Top height from floor | 105–115 cm | 90–95 cm | – |
| Stool seat height | 75–80 cm | 63–68 cm | – |
| Top to seat gap | 30–32 cm | 27–30 cm | 25 cm |
| Overhang | 30 cm | 30 cm | 25 cm |
| Clear knee height | 80–85 cm | 68–72 cm | 68 cm |
| Guest surface depth | 35–45 cm | 35–45 cm | 30 cm |
| Total counter depth | 60–75 cm | 60–70 cm | 55 cm |
| Foot rail height | 18–23 cm | 15–18 cm | – |
| Foot rail projection | 12–15 cm | 10–13 cm | 10 cm |
| Service aisle behind | 95–110 cm | 95–110 cm | 90 cm |
Overhang: How Far the Top Projects
Overhang is the single most abused figure in bar counter dimensions. It is also the cheapest one to get right, because the extra material costs very little at the fabrication stage.
What Overhang Actually Buys You
The overhang is knee space. A guest sitting square to the counter needs their knees somewhere, and the only place available is under the top.
Without it, guests turn sideways. Once they sit sideways they occupy more counter length, so a mean overhang quietly reduces the number of people who fit along the bar.
Elbows matter too. Around 25 cm lets a guest rest their forearms; 30 cm lets them sit properly with a plate in front of them.
How Much Overhang Is Enough
Thirty centimetres is the working answer for drinks and light plates. Move to 35 or 38 cm where guests eat full meals at the counter, since the plate then sits clear of the edge and there is still room to lean.
Twenty-five centimetres is the floor, not a target. Below that a guest cannot get their knees under at all, and the stool ends up parked away from the counter.
Deep overhangs have a limit as well. Past about 40 cm the guest has to reach for the drink, and staff on the other side lose the same distance.
Supporting an Overhang
Stone and compact laminate handle 30 cm unsupported when the slab is thick enough. Timber and panel tops usually need steel flat bars set into the underside, spaced around 60 cm apart.
Corbels are the traditional answer and the wrong one for a bar. They sit exactly where knees go, so use concealed steel instead and keep the underside clear.
Ask the fabricator for the bracket layout on the drawing. That single drawing prevents the most common conflict on site, which is a bracket landing in front of a stool.
Depth: Guest Side, Bar Die and Service Side
Total depth is three separate numbers added together. Quoting bar counter dimensions as one depth figure hides the decisions that actually matter.
The Guest Surface
Thirty-five centimetres of clear guest surface holds a drink, a phone and a pair of forearms. Forty-five centimetres holds a full place setting comfortably.
Below 30 cm the counter becomes a shelf. Guests then push glasses towards the far edge, which is where staff are working.
The Bar Die and the Drink Rail
The bar die is the structure under the guest side, and it is usually 10 to 15 cm thick once panelling and services are counted. Power, data and drainage all run inside it, so resist the urge to make it thinner than the services need.
A drink rail, sometimes called a glass rail, sits on the service side and catches spills before they reach the guest. It typically takes 10 to 15 cm of depth and drops 20 to 30 mm below the main surface.
The Service Side and the Back Bar
Behind the guest surface, the bartender needs a working strip for pouring, garnish and tickets. Twenty-five to thirty-five centimetres is usual, and it should stay clear of guest reach.
Then comes the aisle. Ninety-five to a hundred and ten centimetres between the front bar and the back bar lets two staff pass without turning sideways, which matters enormously during a rush.
Knee Space, the Dimension Nobody Draws
Knee space is where good bar counter dimensions are won or lost. It is rarely on the drawing, and it is the first thing a guest notices.
Depth Under the Counter
Knee depth equals the overhang minus anything hanging below the top. So a 30 cm overhang with a 6 cm apron gives 24 cm of real knee space, which is not enough.
Measure it as the clear volume rather than the projection. A guest cannot sit in a dimension that a rail passes through.
Height to the Underside
At bar height, the underside should sit at least 80 cm above the floor. At counter height, 68 cm is the practical minimum, and it is also the figure most accessibility guidance uses.
Thigh clearance above the seat matters as much. Aim for 25 to 30 cm between the stool seat and the underside of the top, since anything tighter traps the guest.
Obstructions That Kill Knee Space
Aprons, cross rails, cable trunking, power sockets and sound insulation all migrate into the knee zone during construction. Each of them arrives from a different trade, so nobody owns the problem.
Name the knee zone on the drawing as a keep-clear volume. Consequently every trade sees the same restriction, and the socket goes on the die face instead.
The apron that costs a bar four seats
A 60 mm decorative apron under the counter edge looks like a detail worth having, and on a drawing it changes nothing. In service it turns a 30 cm overhang into 24 cm of usable knee space, which is below the point at which a guest can sit facing the counter. Guests turn sideways instead, each one then occupies roughly a third more counter length, and a bar planned for twelve stools comfortably seats eight. The apron cannot be removed later without refinishing the whole front edge, so this is a decision that has to be made before fabrication, not after opening.
60 mm apron → four stools nobody sits on properlyThe Foot Rail and What It Changes
A foot rail is not decoration. Without one, a guest on a tall stool has nowhere to put their feet, and they leave sooner than they otherwise would.
Height and Projection
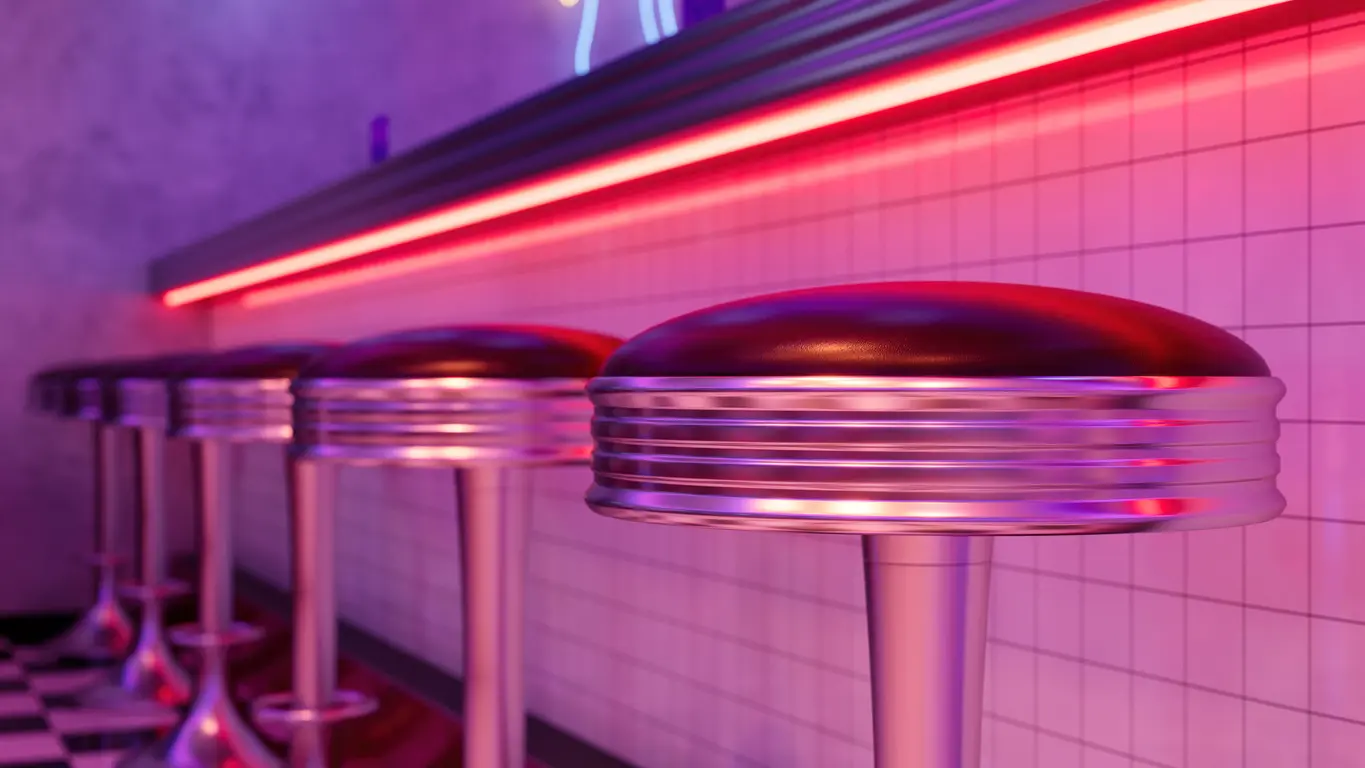
Twenty centimetres above the finished floor suits bar height, while 15 to 18 cm suits counter height. Project the rail 12 to 15 cm from the face of the die so heels clear the panel.
Keep the rail continuous. Every bracket is a place a heel catches, so use the fewest brackets the span allows and set them behind stool positions rather than in front of them.
Fixing, Material and Wear
Brass and stainless tube in 38 to 50 mm diameter are the durable choices. Both take a beating, although brass needs polishing and stainless shows scratches less.
Match the rail finish to the stool frame rather than to the counter. Our metal bar stools and wooden bar stools both list the frame finish, which makes that easy to coordinate.
Fix through the die into solid blocking rather than into panel alone. Foot rails carry more load than anyone expects, because guests use them to push themselves up.
The rail also protects the front panel. Without it, every heel mark lands on the finish, and the die front looks tired within a season.
Stools sized to your counter, not to a catalogue
Timber and metal bar stools in bar and counter seat heights, with footrests, glides and coverings specified for contract use.
Single-Tier and Two-Tier Counters
A two-tier counter raises the guest surface above the working surface. It changes several bar counter dimensions at once, so it deserves a decision rather than a default.
Where Two Tiers Help
The raised tier hides the working mess. Bottles, tickets, ice wells and spills all disappear behind a 15 to 25 cm step, which matters in a room where the bar faces the dining area.
It also gives the bartender a lower working height without lowering the guest surface. Ninety centimetres suits pouring, while the guest still sits at 110 cm.
Where Two Tiers Hurt
Two tiers add depth. The step needs 10 to 15 cm of its own, so a two-tier bar is rarely under 70 cm deep in total.
They also block sightlines and conversation. In a small venue where the bartender is part of the entertainment, a single tier usually works better.
Accessible Sections and Clear Floor
Most jurisdictions require part of a bar to be usable by a guest in a wheelchair. Accessible bar counter dimensions are easy to design in and expensive to retrofit.
The Lowered Section
An accessible section is normally no higher than 86 cm and at least 152 cm long. Beneath it you need clear knee space around 68 cm high, 76 cm wide and 48 cm deep.
Place it where somebody would actually want to sit. A lowered section tucked beside the service station meets the rule and fails the guest.
Approach and Clear Floor
Leave a clear floor space of roughly 76 by 122 cm in front of the accessible section, and keep the route to it free of stools. Our guide to restaurant table spacing covers the same clearance logic across the dining room.
Check the local code rather than trusting a general figure. Requirements differ between markets, and licensing officers do measure.
Materials, Edges and What Survives a Bar
A bar surface takes more punishment than any table in the room, and an outdoor counter takes more still. Our guide to outdoor bar stools covers what the terrace does to the seating in front of it. Wet glasses, citrus, spirits and keys all land on it every night, so material choice belongs with the bar counter dimensions rather than after them.
Surface Choice
Compact laminate handles spills, heat and cleaning chemicals without ceremony, which is why it dominates high-volume bars. Our compact laminate tops carry the same core through the thickness, so a chip does not expose a pale line.
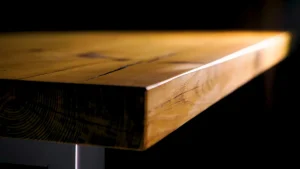
Timber looks warmer and needs more care. A bar top in solid timber wants a hard-wearing lacquer rather than an oil, since oil and citrus do not coexist.
Stone is the premium answer and the least forgiving. A marble top etches under lemon and red wine, so specify a honed and sealed finish and accept a patina.
Our comparison of restaurant table tops and bases works through the materials in more depth. The same logic applies at a bar, only with the wear turned up.
Edge Detail and Front Face
The guest edge takes rings, knocks and forearms. A small radius survives; a sharp arris chips within weeks and then catches sleeves.
A bull-nose or a chamfer both work well. Meanwhile the front face of the die needs a kick or a rail, because shoes reach it whether you plan for that or not.
Drainage, Spills and the Underside
Seal the underside of the top as well as the face. An unsealed underside absorbs the moisture that runs off glasses, and a timber top cups within a year.
Fall the drink rail towards a drainage point rather than towards the guest. It sounds obvious, and drawings miss it surprisingly often.
Ten centimetres of overhang against a rebuilt counter
Adding 10 cm to the overhang across a six-metre bar costs a modest amount of extra surface material and a set of concealed steel brackets. Cutting that same 10 cm costs nothing on the day and turns comfortable seats into perching positions, which shows up as shorter dwell times and lower spend per guest. Once the counter is fabricated the overhang cannot be extended without replacing the top, since the edge profile, the fixing centres and the die face all change together. This is the clearest case in a fit-out where the cheap decision is the expensive one.
10 cm now → a new top and a closed bar laterThe Working Side Behind the Counter
Guests notice the front. Speed of service comes from the back, and good bar counter dimensions cover both sides of the die or neither.
Staff Working Height and Aisle
Ninety centimetres suits most pouring and preparation, which is why two-tier bars exist. Anything above 95 cm makes shaking and pouring tiring across a long shift.
Keep the aisle behind the counter at 95 to 110 cm. Ninety centimetres is workable for a single bartender, yet two people passing at speed need the extra.
Undercounter Equipment
Ice wells, bottle coolers and glass washers all set their own heights, and they usually arrive after the joinery is drawn. Collect the equipment schedule first, then draw the die around it.
Leave service access. A cooler that cannot be pulled out without dismantling the counter becomes a permanent problem the first time it fails.
The Drawing to Give Your Joiner
Most bar problems trace back to a drawing that showed elevation and plan but never showed a section. One section through the counter fixes almost every bar counter dimension at once.
| # | Item to dimension | Why it belongs on the section |
|---|---|---|
| 1 | Finished floor level | Every height is measured from it |
| 2 | Top of finished surface | Slab plus carcass, not carcass alone |
| 3 | Overhang projection | Decides knee space |
| 4 | Clear knee volume | Marked keep-clear for all trades |
| 5 | Apron or no apron | The most common seat killer |
| 6 | Bracket type and centres | Prevents a bracket in front of a stool |
| 7 | Foot rail height and projection | Coordinates with stool seat height |
| 8 | Drink rail and fall to drain | Keeps spills off the guest side |
| 9 | Service aisle width | Two staff passing at a rush |
| 10 | Undercounter equipment envelope | Access for service and replacement |
Bar Counter Dimensions That Fail on Opening Night
These are the bar counter dimensions we see wrong most often. Every one of them costs nothing to correct on paper.
Choosing Stools Before the Counter
Stool height follows counter height, never the reverse. Order the counter first, confirm the finished top level, then choose seats from our guide to how many bar stools you need.
Measuring to the Slab
Floor build-up moves a counter into the wrong height family. Therefore dimension everything from finished floor level, and reconfirm it once the screed is down.
Forgetting the Corner
Inside and outside corners eat seats. A stool at an inside corner has nowhere for knees, so plan the corner as counter surface rather than as a seating position.
Fixed seating around the corner is often the better answer. Our comparison of booth and banquette seating covers where a built-in beats a loose stool.
Running Services Through the Knee Zone
Sockets and trunking arrive late and go wherever there is room. Mark the keep-clear volume early so they land on the die face instead.
A Foot Rail Fixed to Panel
Rails pull loose from 18 mm panel. Specify solid blocking behind every bracket, since retrofitting it means opening the front of the bar.
FAQ
What are standard bar counter dimensions?
A bar sits 105 to 115 cm above the finished floor with a 30 cm overhang and a guest surface 35 to 45 cm deep. A counter-height bar sits 90 to 95 cm high with the same overhang, and both need clear knee space to the underside of the top.
How much overhang should a bar counter have?
Thirty centimetres for drinks and light plates, and 35 to 38 cm where guests eat full meals at the counter. Twenty-five centimetres is the absolute minimum, and below that guests sit sideways.
How much knee space does a bar counter need?
Allow at least 68 cm of clear height at counter height and 80 cm at bar height, measured to the underside of the top rather than to the surface. Keep 25 to 30 cm between the stool seat and that underside.
How deep should a bar counter be in total?
Sixty to seventy-five centimetres covers most single and two-tier bars once the guest surface, the die, the drink rail and the working strip are added. Fifty-five centimetres is workable only for a drinks-only counter with no service side.
How high should a bar foot rail be?
Twenty centimetres above the finished floor at bar height and 15 to 18 cm at counter height, projecting 12 to 15 cm from the front face. Fix through to solid blocking rather than into panel.
Should a bar counter be one tier or two?
Two tiers hide the working area and give staff a lower pouring height, at the cost of roughly 10 to 15 cm of extra depth. A single tier suits small rooms and any bar where the bartender is part of the experience.
Who should build a bar counter?
Counter joinery is usually made by a contract furniture maker or a shopfitter working from your section drawing. Our guide to what to check before ordering covers the specification questions that apply to any made-to-order surface.
More in this category