
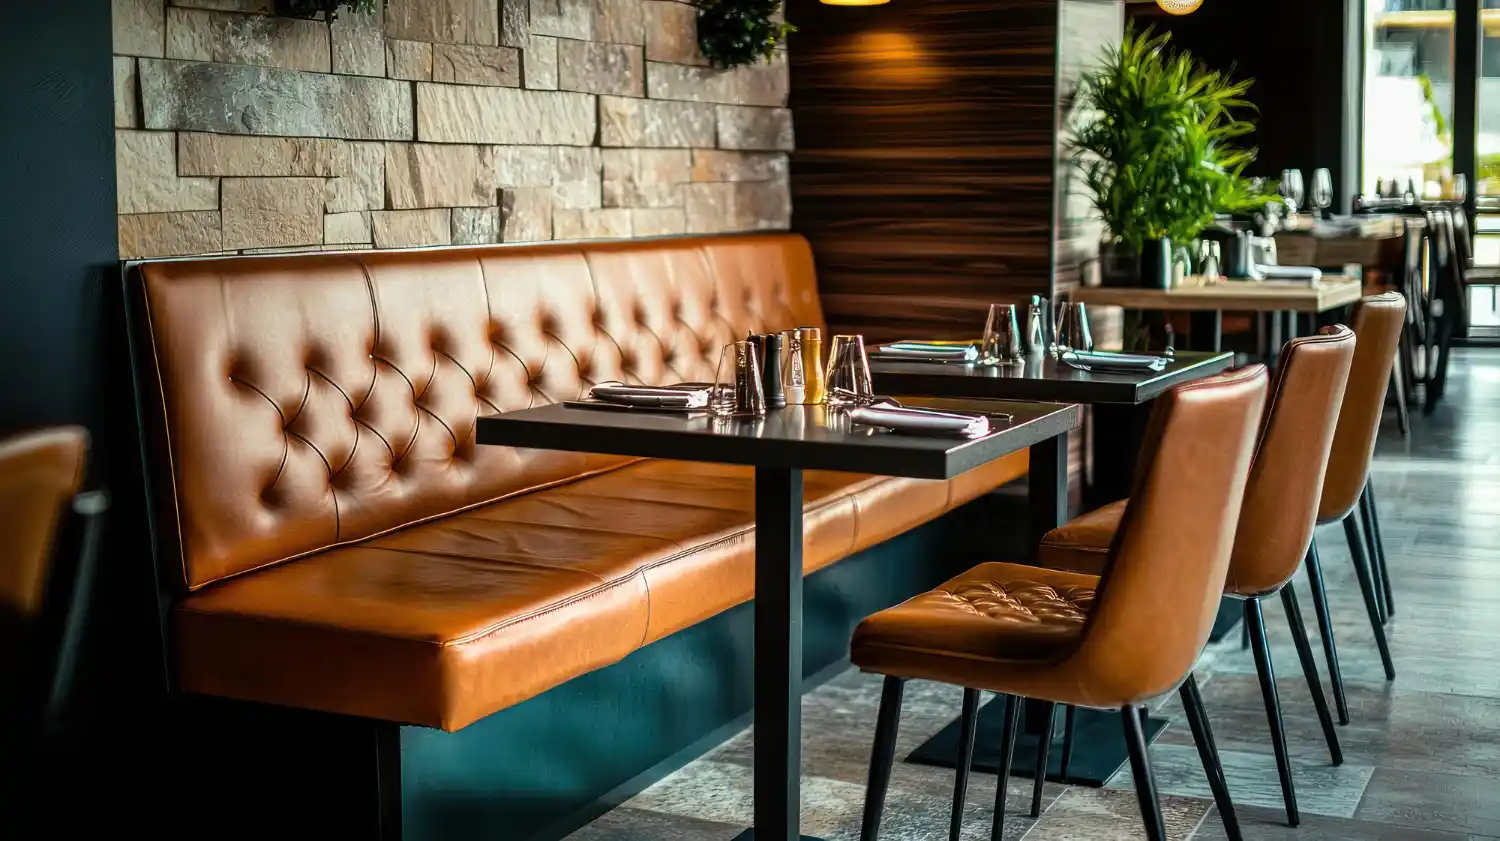
A booth seating floor plan is not the drawing the architect gave you. It is a measured, site-surveyed document that tells a joiner exactly what to build, and producing one is a two-hour job that saves weeks.
Fixed seating cannot be nudged after delivery. So every dimension has to come off the real walls rather than off a plan drawn before the plaster went on.
This guide sets out the survey sequence, how to turn measurements into buildable modules, the dimensions to confirm on site, and what a maker needs before quoting.
Build a booth seating floor plan in five steps: measure the wall run at three heights, check squareness with diagonals, record every obstruction and service, take floor levels along the run, then divide the length into buildable modules with a scribe allowance at each end. Confirm the seat depth, back height, table size and aisle width on site rather than trusting the architect’s drawing, and send the survey with photographs when you request a quotation.
Contents
What a Booth Seating Floor Plan Has to Show
The phrase covers a specific document rather than a general idea. Getting the definition right saves an argument later.
The Three Layers
Layer one is the survey: the real dimensions of the room, taken on site. Above that sits the seating layout, showing where each unit sits and how long it runs.
The third layer is the schedule, which lists every unit with its length, depth, height and finish. A booth seating floor plan that carries all three is enough for a joiner to quote and build from.
Each layer answers a different question. The survey says what the room is, the layout says what goes in it, and the schedule says what gets made.
Why the Architect’s Drawing Is Not Enough
Architectural plans are drawn to design intent, so they show walls as straight and corners as square. However, real walls bow, real corners run out and real floors fall.
Furthermore the plan usually predates the finishes. Tiling, plasterboard and skirting all reduce the opening, sometimes by several centimetres across a long run.
Who Actually Uses It
The maker quotes from it, the installer works to it, and the contractor coordinates power and lighting around it. Consequently one accurate document replaces a long chain of emails.
Our comparison of booth and banquette seating covers the standard dimension set behind these units. This page is about turning that general knowledge into a drawing for one specific room.
Before You Measure
An hour of preparation makes the survey itself quick, and a booth seating floor plan is only as good as the visit behind it. Three things matter more than the rest.
What to Take With You
A laser measure, a five-metre tape, a two-metre spirit level, a pencil and a printed copy of the architect’s plan cover almost everything. Add a phone for photographs and a torch for dark corners.
Furthermore, bring squared paper as well. Sketching by hand on site catches things that typing into a phone does not.
Clear the Room First
Measure an empty room wherever possible. Stacked materials hide the exact thing that will foul a unit, and a survey taken around obstacles gets redone.
Establish a Datum
To begin with, pick one corner as the origin and measure everything from it. A booth seating floor plan built from a single datum stays consistent, whereas running dimensions taken end to end accumulate error.
Then mark the datum on the floor and photograph it. The installer will thank you months later.
The Five-Step Measuring Sequence
Work in this order every time. Each step depends on the one before it, and skipping a step is what produces a unit that will not fit.
The whole sequence takes about two hours in an average dining room. That is the entire survey effort behind a booth seating floor plan, set against a remake that takes weeks.
Step One: The Wall Run
Measure the total length of each wall that will carry seating, and measure it three times: at floor level, at 500 millimetres and at 1,200 millimetres. Record all three figures rather than averaging them.
Ultimately, the smallest of the three is the dimension the unit has to fit into. A wall that bows inward at seat height is common, and it is invisible on any drawing.
Step Two: Squareness and Diagonals
Next, measure both diagonals of the seating zone. Equal diagonals mean a square area, and a difference of more than about 20 millimetres tells you the corner runs out.
Then measure the angle at any corner that will carry a unit. Our guide to corner booth seating covers what happens when a curved unit meets a wall that is out of square.
Step Three: Obstructions and Services
Then walk the run and record everything that projects: skirting, dado rails, radiators, pipe boxings, sockets, switches, columns and window reveals. Note the height and the projection of each.
In fact, skirting is the one people forget. A 20 millimetre skirting means the back of every unit needs a matching rebate, or the whole run stands 20 millimetres off the wall.
Notably, sockets matter twice. They set out where power reaches the run, and they decide whether the back panel needs a cut-out.
Step Four: Floor Level
Similarly, lay the spirit level along the run at one-metre intervals and record the fall. Restaurant floors slope towards drains far more often than anyone expects.
A fall of more than about 10 millimetres over two metres changes the build. The maker then adds an adjustable plinth rather than a fixed one, and that decision belongs on the drawing.
Step Five: Ceiling, Lighting and Sightlines
First, record the ceiling height and the position of every pendant, downlight and sprinkler head above the run. A tall booth back that lands under a pendant looks wrong and blocks the light.
Finally, photograph the wall elevation as well. Photographs answer questions during quoting that dimensions alone cannot.
| # | What to record | How | Why it matters |
|---|---|---|---|
| 1 | Wall length at three heights | Laser, floor / 500 / 1,200 mm | Smallest figure governs |
| 2 | Both diagonals | Tape, corner to corner | Reveals out-of-square |
| 3 | Corner angles | Angle finder or 3-4-5 | Decides corner unit type |
| 4 | Skirting height and projection | Tape | Sets the back rebate |
| 5 | Sockets and switches | Height and distance from datum | Cut-outs and power |
| 6 | Columns and boxings | Width, depth, position | Splits the run |
| 7 | Window reveals and cills | Height above floor | Caps the back height |
| 8 | Floor fall | Level at 1 m intervals | Fixed or adjustable plinth |
| 9 | Ceiling and lighting | Height and positions | Back height and sightlines |
| 10 | Delivery route | Door widths, stair turns, lift | Where the unit splits |
Turning Measurements Into Modules
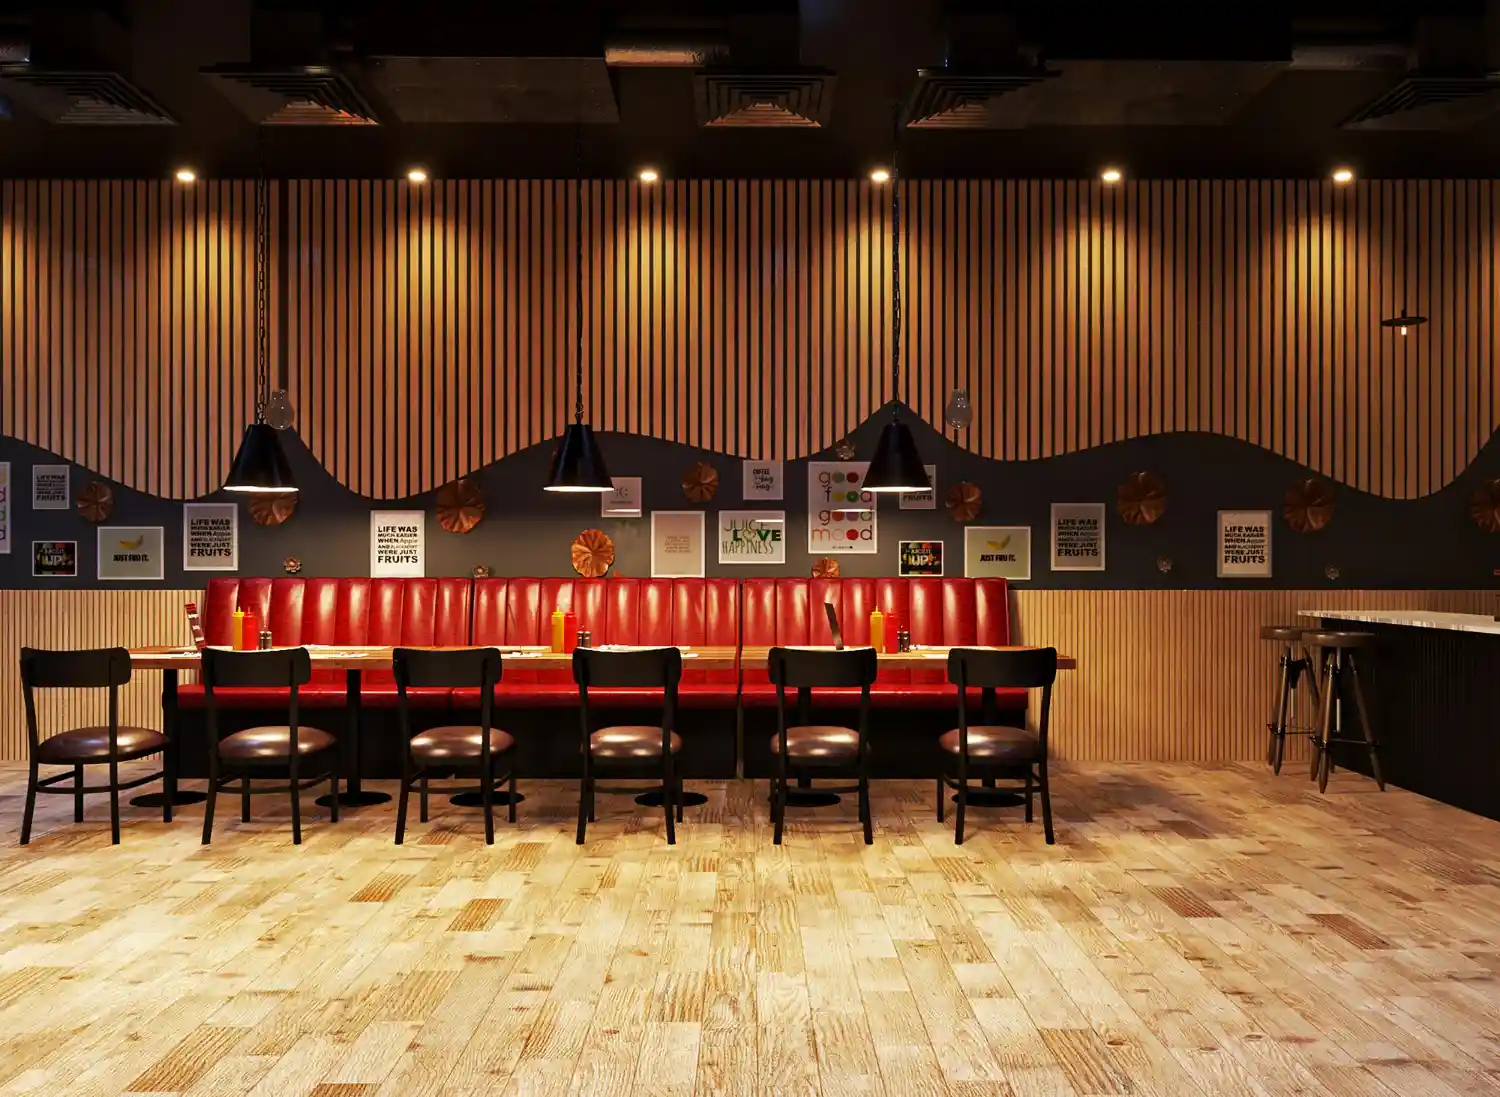
Fixed seating is built in sections and joined on site. Converting a wall length into a set of modules is the step that turns a survey into a booth seating floor plan.
Why Booths Come in Modules
A five-metre run does not arrive as one piece. It arrives as three or four sections that pass through a doorway, up a stair and around a corner, then bolt together against the wall.
Module joints also allow movement. A long single unit fights a floor that is not level, whereas jointed sections absorb it.
Choosing a Module Length
Modules usually run between 1.2 and 1.8 metres. Longer sections mean fewer joints and a cleaner line, while shorter ones travel more easily and are simpler to replace if one is damaged.
Instead, set the module length from the table spacing rather than from the wall. One table per module keeps the joints between covers, so no guest sits across a seam.
Handling the Remainder
Of course, wall lengths never divide neatly. Absorb the remainder in one of three ways: lengthen every module slightly, add a short filler section at one end, or finish the run with a scribed end panel.
Generally, spreading the difference across all modules looks best. A single odd-length unit at one end draws the eye immediately.
The wall that is 30 millimetres shorter at seat height
Long walls rarely run true. A run measured only at floor level can be 20 or 30 millimetres shorter at 500 millimetres up, where the back of a booth actually meets the plaster, and a unit built to the floor dimension then refuses to slide into place on installation day. The installer either cuts on site, which spoils the finish, or takes the unit away and returns weeks later. Measuring at three heights and building to the smallest figure takes two extra minutes, and it is the single most valuable habit in fixed-seating surveying.
One height measured → a run that will not fit on the dayDimensions to Confirm on Site
Every dimension below should appear on your drawing with a value taken in the room. Our booth and banquette guide explains where the standard figures come from; this list is what to verify before ordering.
Seat, Back and Plinth
Confirm the finished seat height above the floor, the seat depth from the front edge to the back cushion, and the back height above the seat. Then confirm the plinth height, since it changes the seat height directly.
Also, check the seat height against the tables you already own. A booth built to a different height family leaves guests either reaching up or perching down.
Table Size and Position
Record the table top size, the base footprint and the distance from the front of the cushion to the table edge. Then check that a guest can slide in past the base.
Our table bases and legs list the maximum top size for each column, and our guide to restaurant table shapes covers how shape changes the fit inside a booth.
Run Length and End Conditions
Finally, note how each run finishes: against a wall, against a column, as an open end, or with a return. End conditions change the joinery more than the length does.
| Dimension | Measured from | Affects |
|---|---|---|
| Finished seat height | Finished floor level | Table height match |
| Seat depth | Front edge to back cushion | Comfort and footprint |
| Back height | Above the seat surface | Privacy and sightlines |
| Plinth height | Floor to underside of seat | Cleaning and seat height |
| Overall unit depth | Wall face to front of cushion | Aisle width remaining |
| Table top size | Across the top | Covers per unit |
| Cushion front to table edge | Horizontal gap | Whether guests can slide in |
| Run length per module | Datum along the wall | Joint positions |
| Scribe allowance | Each wall face | Fit on installation day |
Single Runs, Back-to-Back and Islands
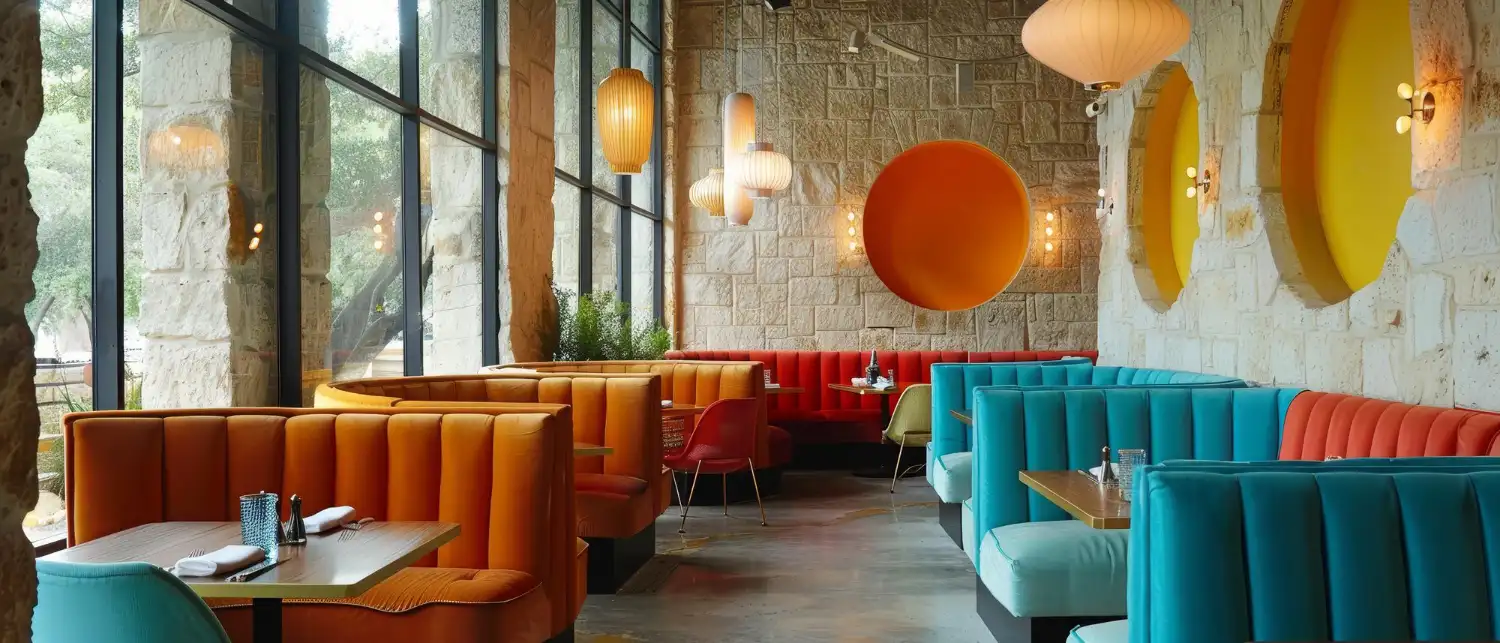
Three arrangements cover almost every dining room, and each one changes what the survey has to capture. Note the arrangement on the booth seating floor plan before you measure anything, because it decides which lines matter.
The Single Wall Run
Seating on one side, loose chairs opposite. This is the simplest arrangement and the easiest to survey, because only one wall governs the dimensions.
It also keeps the aisle open. Guests on the chair side can move their seats, which absorbs the odd centimetre a survey misses.
Back-to-Back Runs
By contrast, two units share a common back and face opposite ways, usually down the centre of a room. Here the survey has to capture the centre line as precisely as the walls.
Measure from the datum to the intended centre line, then confirm that both aisles work. A back-to-back run placed 100 millimetres off centre produces one comfortable aisle and one that catches every tray.
Island and Perimeter Booths
By contrast, island units stand free of any wall and need a finished back on every face. Perimeter arrangements wrap the room and turn every corner into a decision.
In addition, both benefit from a full-size floor mock-up. Tape the outline on the floor, walk the aisles and sit a chair at each position before the drawing is signed.
Booths and banquettes built to your survey
Straight runs, corners, back-to-back and island units, made to site dimensions with scribed ends and matched table tops.
Circulation, Access and Escape
A booth seating floor plan has to satisfy more than comfort. Three constraints override the layout entirely.
Aisles and Service Routes
Fixed seating removes the flexibility that loose chairs provide, so the aisle you draw is the aisle you get. Our guide to restaurant table spacing sets out the clearances that apply.
Above all, walk the route with a tray before signing off. A dimension that works on paper can still fail where a run meets a doorway.
Accessible Positions
Nobody can move a booth, so a wheelchair user needs a position elsewhere in the room. Mark those positions on the same drawing rather than leaving them to the fit-out.
In particular, an open-ended unit helps. A run that finishes without a fixed end can take a loose chair, which turns the last position into a usable one.
Escape Routes and Local Code
Moreover, fixed seating counts as permanent obstruction in most fire strategies. Check the escape route widths with your local authority before the drawing goes to the maker, since moving a unit afterwards is not realistic.
Mark the protected widths on the booth seating floor plan itself. A dimension drawn on the sheet survives a change of designer, whereas a conversation does not.
From Plan to Quotation
A complete booth seating floor plan turns a vague enquiry into a firm quotation. Three things go with it.
What the Maker Needs
First, send the plan, an elevation of each run, a section through one unit and the photographs from the survey. Add the finish schedule: frame, plinth, covering and table top.
A booth seating floor plan sent with all of that comes back quoted in days rather than weeks. Meanwhile a plan sent without an elevation produces a fortnight of questions.
Our notes on restaurant chair fabric cover the covering specification, and the same test requirements apply to fixed seating.
Scribe Allowance and Tolerances
Then agree the scribe allowance in writing, usually 15 to 25 millimetres on any face meeting a wall. Without it a unit built exactly to dimension arrives too big for the opening.
Similarly, agree the manufacturing tolerance as well. A few millimetres either way on a module is normal, and it needs to be stated rather than assumed.
Delivery Access and Split Points
Finally, measure the delivery route before approving module lengths. Door widths, stair turns, lift dimensions and ceiling heights all decide where a unit has to split.
Our guide to what to check before ordering covers the same discipline for made-to-order tables, and every point carries across to joinery.
A floor mock-up settles what a drawing never will
Before the drawing is signed, tape the full outline of every unit onto the finished floor: the seat front, the back, the table position and the aisle line. Then sit a chair at each position, walk the aisle carrying a tray and try to slide into the middle seat. Fifteen minutes of that reveals problems no drawing exposes, and it reveals them while the layout can still be changed for the effort of moving a piece of tape. Fixed seating is the one element in a fit-out that cannot be adjusted after installation, which is exactly why it deserves the mock-up that loose furniture never gets.
Fifteen minutes with masking tape → a layout nobody has to live with regretfullyMistakes That Ruin a Layout
Each of these turns up regularly, and each is settled during the survey rather than on installation day. Read them as a checklist against your own booth seating floor plan before it goes out.
Measuring Once, at One Height
Of course, walls bow and plaster runs thick. Three heights per wall takes two extra minutes and prevents the most common installation failure.
Trusting the Architect’s Plan
In short, design intent is not site reality. Survey the room after the finishes are on, and resurvey if the programme changes anything on those walls.
Forgetting the Skirting
Moreover, skirting pushes the whole run forward and eats the aisle behind it. Record its height and projection, then decide between a rebated back and a scribed one.
Ignoring the Floor Fall
A sloping floor turns a level seat into a visibly tilted one across a long run. Therefore, take levels every metre and let the maker decide the plinth.
Leaving the Delivery Route Until Last
In short, module lengths depend on the narrowest point between the lorry and the room. So measure that route before you approve any length.
Skipping the Table Positions
Besides, a layout drawn without tables always looks generous. Draw every top and base on the same booth seating floor plan, since the table decides whether the seating actually works.
FAQ
What is a booth seating floor plan?
It is a measured drawing that combines a site survey, a seating layout and a schedule of units. Together those three layers give a joiner everything needed to quote and build fixed seating for one specific room.
How do I measure a wall for booth seating?
Measure the full length at three heights: floor level, 500 millimetres and 1,200 millimetres. Build to the smallest of the three, and add a scribe allowance of 15 to 25 millimetres at each end.
How long should each booth module be?
Most modules run between 1.2 and 1.8 metres. Set the length from the table spacing so that joints fall between covers, then check the figure against your delivery route.
Do I need a site survey if I have architectural drawings?
Yes. Architectural plans show design intent rather than finished surfaces, and tiling, plasterboard and skirting all change the dimensions that fixed seating has to fit.
What scribe allowance should I ask for?
Fifteen to twenty-five millimetres on any face that meets a wall. Agree it in writing, because a unit made exactly to the measured dimension leaves no room to fit.
How do I handle a floor that is not level?
Take levels at one-metre intervals along the run and record the fall on the drawing. The maker then specifies an adjustable plinth instead of a fixed one.
Can booth seating go back to back?
Yes, and it is an efficient way to fill a centre floor. Survey the centre line as carefully as the walls, because a run set off centre leaves one aisle too narrow to work.
When should the survey be done?
After the wall finishes are on and before the joinery order goes out. A booth seating floor plan drawn from bare blockwork misses the tiling, the plasterboard and the skirting.
How many modules fit a five-metre wall?
Three or four, depending on the table spacing you have chosen. Divide the smallest measured wall length by your module length, then absorb the remainder across every section rather than in one odd unit.
What should I send with a quotation request?
First, send the plan, an elevation of each run, a section through one unit, the survey photographs and the finish schedule. Our guide to restaurant furniture manufacturers covers how to audit the supplier who receives it.
More in this category